 The whole point of setting up an indoor grow space is to create that perfect growing season over and over again without Mother Nature throwing you any curveballs. You know how it goes - we've got all these nifty tools to improve on nature's design. We can pop in lights that mimic what the sun does, slap some reflective stuff on the walls to make that light work harder, feed our plants the exact nutrients they need, and set up watering systems that measure down to the last drop. But here's the thing - we can't make air from scratch. Good news though! There's plenty of fresh air right outside your door. We just need to figure out how to get it into your grow room. That's where ventilation comes in, and when you pair it with proper air conditioning, you'll keep those temperatures and humidity levels right where they need to be. Bringing in fresh air is just the start; pairing your system with grow room air purifiers helps remove odors, mold and airborne contaminants to keep your plants thriving.
What Is Ventilation?
Not to get all technical on you, but ventilation is basically just man-made wind. Wind happens naturally when high-pressure air moves into areas with lower pressure. Getting those minimum ventilation requirements right is super important for keeping your grow room healthy. And don't forget about air infiltration - that's when outside air sneaks in without you planning it, which can throw off your calculations a bit. So really, all we need to do is create areas of higher and lower pressure in the grow room and let physics do the heavy lifting. Pretty simple, right? If you're working with a smaller space or a grow tent, it really can be that straightforward. But the bigger your space gets, the more you'll need to think about your ventilation setup.
Understanding Ventilation Types
Ventilation is absolutely key to maintaining good air quality indoors, and you've got several options to consider. Each type has its own pros and cons depending on your specific setup.
Natural Ventilation: This is the most basic approach - it uses natural forces like wind and heat differences to move outdoor air through openings like windows and vents. Works great if you've got high ceilings and big windows. The beauty of natural ventilation is that it can really improve your indoor air without needing any fancy mechanical equipment. If you position your windows and vents in the right spots, you'll create a natural flow that keeps fresh air moving through your space.
Mechanical Ventilation: On the flip side, mechanical ventilation uses fans and ductwork to control airflow. This is your go-to if you're dealing with low ceilings, tiny windows, or if the air outside isn't so great. The nice thing about mechanical systems is that you can fine-tune them to give you consistent airflow regardless of what's happening outside.
Hybrid Ventilation: Think of this as the "best of both worlds" approach. Hybrid systems use natural forces to bring in outdoor air but add mechanical components to distribute it properly. This works well when you need good ventilation but also want to keep your energy bills in check. You can use natural ventilation when conditions are right and switch to mechanical when needed - pretty smart, right?
Understanding these different options will help you pick the best setup for your grow room or any enclosed space you're working with. Trust me, I've seen all types work well when matched to the right situation!
Benefits of Good Ventilation for Indoor Air Quality:
-
Gives your plants a steady supply of fresh CO2 and helps maintain those carbon dioxide levels (which is a big deal for indoor air quality)
-
Helps kick excess heat out the door
-
Keeps humidity from getting out of hand
-
Good airflow makes it tough for mold & mildew to set up shop
-
Makes your plant stems stronger (they need a little workout too!)
-
Cuts down on energy use - your wallet will thank you
Ventilation and Indoor Air Quality
Ventilation plays a huge role in keeping your indoor air quality up to snuff. And don't forget about air treatment - it's another key piece of the puzzle for improving air in enclosed spaces. In a grow room, you've got to get that stale air out and fresh air in, otherwise pollutants start building up. A good ventilation system keeps fresh air flowing, which dilutes all those airborne nasties. This creates a healthier environment for both your plants and anyone spending time in there. When you maintain a steady exchange of air, your indoor air quality stays at those optimal levels, your plants grow better, and you're less likely to deal with mold and mildew issues. It's really a win-win!
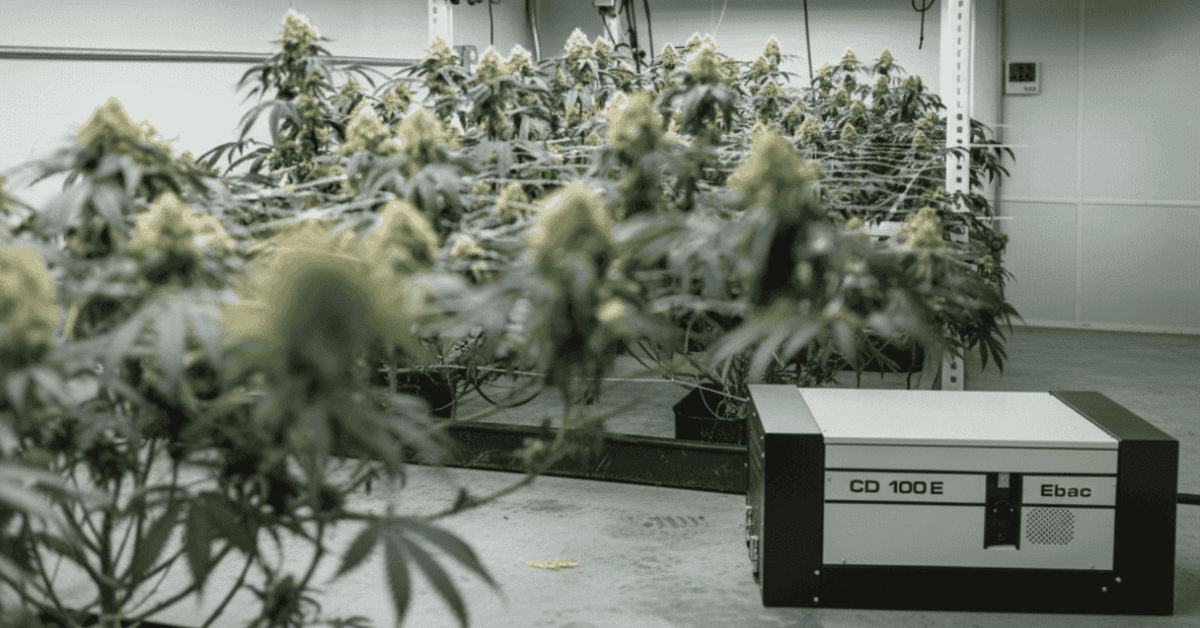
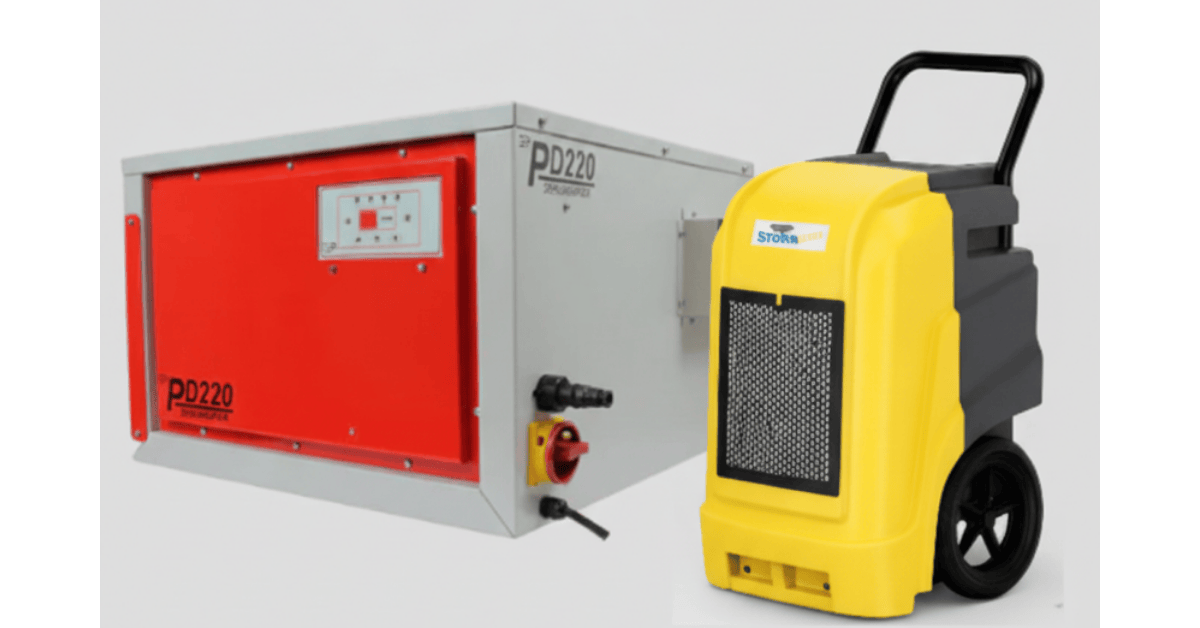
Ventilation and ducting are just part of the equation; for moisture control tips, read our grow‑tent dehumidifier guide and How to Lower Humidity in Grow Room Set Up to keep humidity in check.
Ventilation Systems: Passive vs. Active Intakes
There are basically two types of ventilation setups, but they're both trying to do the same thing: continuously bring fresh air in while pushing warm, stagnant air out. At the very minimum, you'll need an intake vent and an exhaust fan. And if you're looking to control temperature too, you can integrate mechanical heating with your ventilation system for a nice balanced environment.
Exhaust fan - You'll want to place this fan near the top of your grow room and hook it up to ducts that pull hot, humid air out and send it packing. Here's a tip from years of seeing these setups: run your ductwork through your light hoods. This helps lower temperatures in both the room and inside the light reflectors, which will help your bulbs last longer. Definitely worth the extra effort!
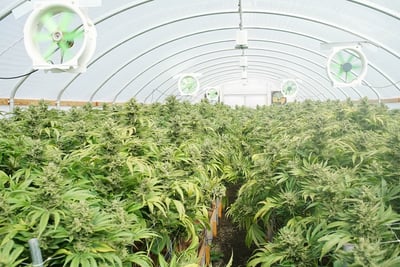
Oscillating fans - These fans create a gentle breeze that cools your plants' leaves and keeps air moving around the room. That constant air movement also helps your plants develop stronger stems as they grow - kind of like how exercise builds our muscles. How many you'll need really depends on how big your space is. I've seen people both under and overdo it here!
Passive Intake
The two fans I just mentioned make up what we call a 'passive intake' system. Air infiltration is really important for getting proper air movement in and out. In a small, mostly airtight room, this setup usually works best. Think of it like drinking through a straw - as your exhaust fan pulls air out of the room, it creates a vacuum that naturally draws outdoor air in through the only other opening, your intake vent.
For best results, put your intake vent at the bottom of the room, ideally on the opposite side from your exhaust fan. This creates a nice cross-flow of air. And here's a helpful tip: make your intake vent hole about twice the size of your exhaust fan's hole. This creates the right suction ratio in your room. I've seen plenty of folks get this wrong and wonder why their ventilation isn't working properly!
Active Intake in Mechanical Ventilation
With an active intake, you're basically adding a fan to your intake vent to help pull outside air into the grow room. If you're dealing with larger rooms or warehouse setups, you'll probably want to go this route. This system also works well when you can't make your intake holes big enough for a passive system to work effectively.
One thing to keep in mind when deciding between systems: an active intake won't cool your space quite as efficiently as a passive system. I don't want to get too deep into the physics here, but fan blades compress air, which creates heat. It's not a huge amount, but worth mentioning. Also, treating the air in mechanical systems can get pricey - switching to more energy-efficient options can save you a pretty penny in the long run.
Not sure which solution is right for you? Submit a personalized smoke‑eater recommendation form and our specialists will match you with the best system for your space—no obligation required.”
Air Exchange Rate
Air exchange is pretty much what it sounds like - replacing all the current air in your room with fresh outside air. You'll hear different opinions on the ideal exchange rate, anywhere from once every 2-3 minutes to once every 5 minutes. The truth is, every grow room is different - outdoor temperatures, types of lights, whether you're running exhaust through your light hoods, all these factors matter.
Getting your air exchange rates right can really boost energy efficiency, especially if you're using fancy equipment like Heat Recovery Ventilators (HRVs) or Energy Recovery Ventilators (ERVs).
A good rule of thumb I've found over the years: let the temperature be your guide. If you're struggling to keep temperatures in the right range, you need to exchange air more frequently. This might mean getting a stronger fan or just turning up the speed on your current exhaust fan if it has multiple settings. Most likely, you'll want to be closer to that 2-3 minute mark than the 5-minute mark. Oh, and if you're growing for a dispensary, make sure to check if there are local regulations about air exchange rates. Trust me, you don't want to run afoul of those!
To figure out your current air exchange rate, first calculate the cubic feet of your space (Length x Width x Height), then compare that to the "CFM" (Cubic Feet per Minute) of your fan. For example, if your space is 5' x 5' x 10' (250 cubic feet), and you use a 256 CFM fan, the air in your room will exchange about once per minute. In this case, that's actually a bit too fast, so you might want to dial it back with a less powerful fan. To size your equipment correctly, enter your room dimensions into our CFM calculator and see exactly how much airflow you need.
Here's one of the most powerful options: Check the CleanLeaf Air Filtration Systems.
Ventilation Rates and Calculation
Ventilation rates are super important for maintaining good indoor air quality. These rates usually depend on how many people are in the building and how polluted the outdoor air is. Local building codes typically set minimum ventilation requirements, which vary based on the type of building and how many people use it.
Ventilation rate is usually measured in cubic feet per minute (CFM) or liters per second (L/s). You might also see it expressed as CFM per person (CFM/p) or CFM per square foot (CFM/ft²).
Calculating the right ventilation rate involves several factors - how many folks are in the space, pollution levels, and what type of ventilation system you're using. The formula takes all these things into account to figure out how much outdoor air you need to keep indoor air quality good. For instance, a grow room with lots of people and hot lights will need higher ventilation rates to make sure fresh air keeps coming in and stale air goes out.
By getting these calculations right, you'll ensure your grow room meets those minimum ventilation requirements and provides a healthy environment for both your plants and the people tending them. I've seen too many folks guess at this and end up with problems down the road!
Ventilating Fresh Air Through Your Light Hood
So far, I've mostly been laying out your options. But when it comes to running your exhaust ventilation through the light hood, I'm going to be more direct - this is definitely a best practice you should consider.
Here's how it works: mount an exhaust vent next to your light with a duct connecting to the side of the light hood. On the other side of the hood, run another duct outside where your exhaust fan is mounted. The idea is to pull hot air from both the room and the light at the same time, while creating suction in the room that pulls fresh air in through your intake vent. One important tip - make sure the fan is on the opposite side of the light, otherwise it won't pull out as much heat. Remember, pulled air cools better than blown air - this is one of those little nuggets of wisdom that makes a big difference in ventilation effectiveness!
Ducts
Finally, since no system works properly without ducts to direct airflow, let's talk about them briefly with some do's and don'ts. Keep in mind that air infiltration can really impact how well your duct system works.
Flexible aluminum ducts are usually your best bet - they're affordable and easy to find. Sure, there are fancier options out there, but whether they're worth it depends on your budget and specific needs. Ideally, you want short, straight ducting to maximize airflow. The farther air has to travel, the weaker the pressure gets. Try to avoid bends in your ducts whenever possible - I've seen systems lose significant efficiency just because of too many twists and turns.
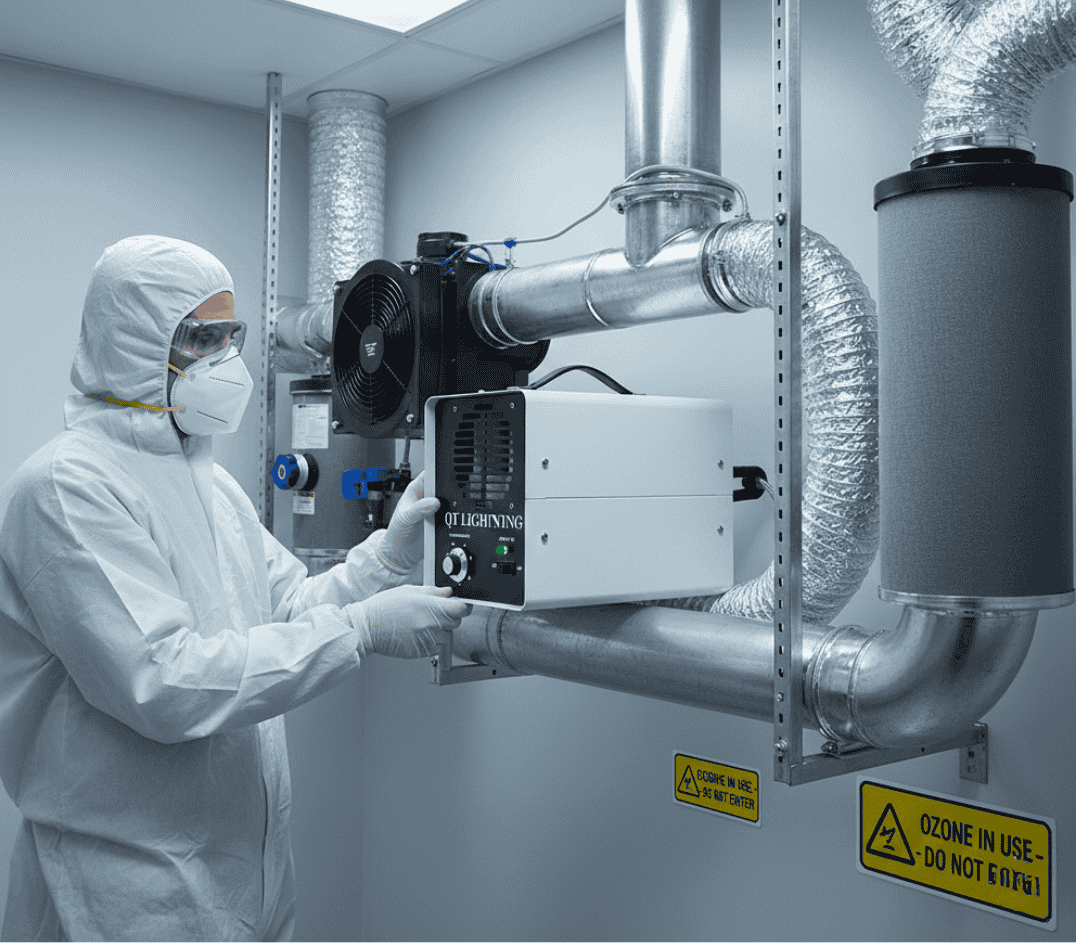
And one last thing to think about if you're building your room and ventilation system from scratch: you might want to consider cleanroom technologies like HEPA filters on your intake and exhaust. Combined with oscillating fans inside the room,
Natural Ventilation Strategies
Natural ventilation can be a real game-changer for improving indoor air quality without relying too heavily on mechanical systems. One simple but effective approach is to strategically use windows and doors to let fresh air in and circulate around. Solar chimneys and wind towers are another option - they enhance natural airflow by taking advantage of how air naturally moves. If you're designing a building with natural ventilation in mind, features like clerestory windows or solar tubes can really improve how effective your ventilation is. And don't forget about plants and green walls! They not only clean the air but also add a nice touch of nature to your indoor space, further boosting your air quality. I've seen spaces transformed just by implementing these simple strategies!
Air Infiltration and Ventilation
Air infiltration is what we call it when outdoor air sneaks into a building through gaps and cracks in the exterior. While this can contribute to ventilation, it can also introduce pollutants, especially if you're in an area with poor outdoor air quality.
To minimize unwanted air infiltration, your ventilation system can incorporate air sealing and weatherstripping techniques. These methods help close up those gaps and cracks, reducing the amount of unfiltered outdoor air getting in. But here's the balance you need to strike - you still need to make sure your ventilation system brings in enough fresh air to maintain good indoor air quality.
Mechanical ventilation systems are particularly good at controlling air infiltration. By using fans and ductwork, these systems provide consistent fresh air while removing stale air from the building. This controlled approach helps maintain good indoor air quality and reduces the risk of pollutants sneaking in through unintended gaps.
Understanding the balance between air infiltration and controlled ventilation is crucial for maintaining a healthy indoor environment. With properly designed and operated ventilation systems, you can minimize air pollution and ensure a steady supply of fresh air, creating a healthier and more comfortable indoor space. I've helped set up systems in all kinds of buildings, and finding this balance is always key!
Ventilation and Health
Good ventilation isn't just about maintaining indoor air quality - it's crucial for health and well-being too. Poor ventilation can lead to all sorts of health issues, including respiratory problems, headaches, and feeling tired all the time. On the flip side, effective ventilation helps remove airborne pollutants and allergens, reducing the risk of respiratory diseases. It can also help you think better and be more productive - ever notice how hard it is to focus in a stuffy room? Overall, good ventilation just makes life better, ensuring your indoor environment isn't just comfortable but actually healthy too. Plus, good ventilation helps with energy efficiency by reducing how much heating and cooling you need. It's one of those investments that pays off in multiple ways!
Conclusion
To wrap things up, ventilation is absolutely essential for maintaining good indoor air quality and promoting health and well-being. By understanding why ventilation matters and implementing effective strategies, building owners and occupants can create a healthier, more comfortable indoor environment. Whether you go with mechanical ventilation systems or natural ventilation strategies, prioritizing good airflow is key to maintaining good indoor air quality and supporting overall health. Investing in a well-designed ventilation system can make all the difference in creating the perfect growing environment and keeping both your plants and people healthy. Don't forget to regularly evaluate how well your ventilation is working - it's the best way to make sure you're hitting all these goals!